I still remember the day I discovered how to foam roll to relieve sore muscles – it was a total game-changer for me. I had just finished a grueling workout and was dreading the muscle soreness that would follow, but after using a foam roller, I felt like a new person. The common myth that foam rolling has to be painful or that it’s only for athletes is simply not true – it’s a simple yet effective way to ease muscle tension and improve circulation. I’ve tried various methods to alleviate soreness, but foam rolling has been the most consistent and reliable solution for me.
In this article, I’ll share my personal experience and provide you with practical tips on how to foam roll to relieve sore muscles. You’ll learn how to identify the areas that need the most attention, how to use the right amount of pressure, and how to incorporate foam rolling into your daily routine. I’ll cut through the hype and give you honest advice on what works and what doesn’t, so you can start feeling the benefits of foam rolling for yourself. Whether you’re a fitness enthusiast or just starting out, this guide will give you the confidence to take control of your muscle soreness and start rolling your way to relief.
Table of Contents
Guide Overview: What You'll Need

Total Time: 15 minutes to 1 hour
Estimated Cost: $10 – $30
Difficulty Level: Easy
Tools Required
- Foam Roller (various sizes, 12 inches to 36 inches in length)
Supplies & Materials
- Comfortable Exercise Mat for floor work
- Water Bottle for staying hydrated
Step-by-Step Instructions
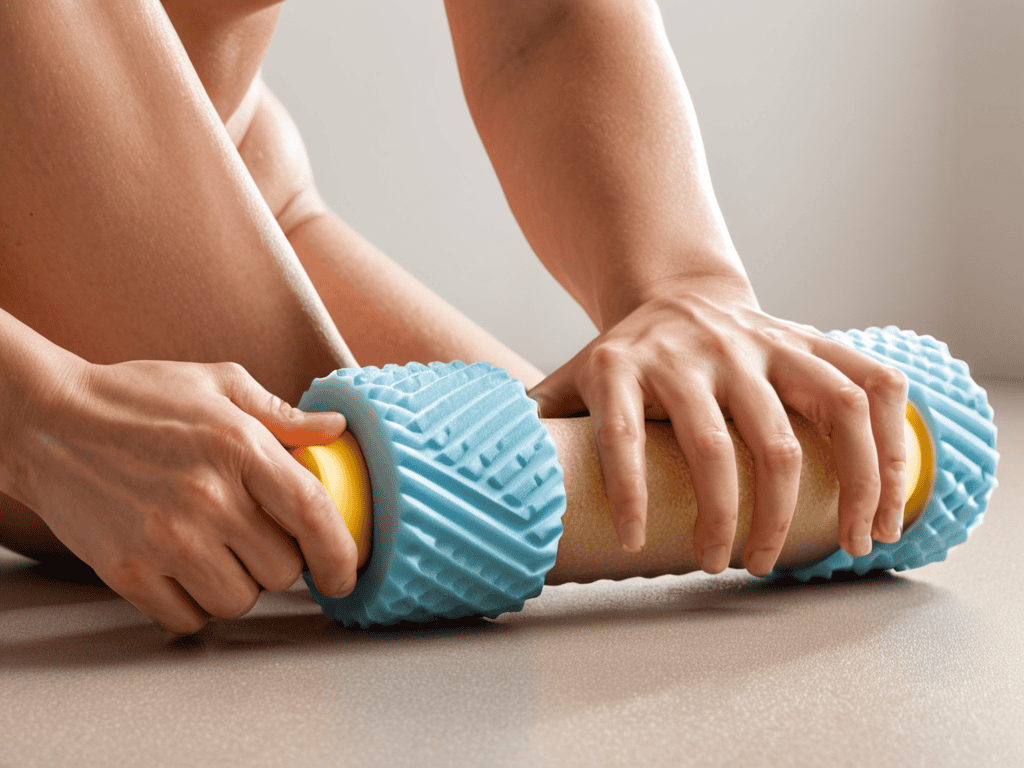
- 1. First, get familiar with your foam roller – it’s essential to understand how to use it effectively to relieve sore muscles. Start by standing with your feet shoulder-width apart and holding the foam roller vertically against a wall for support. This will help you get a feel for the roller and make the necessary adjustments to find a comfortable position.
- 2. Next, identify the areas of your body that need the most attention – typically, these are the muscles that feel tight or sore after a workout. Common areas include the IT band, quadriceps, hamstrings, and calves. Once you’ve pinpointed the areas, you can begin to roll them out, applying gentle to moderate pressure as needed.
- 3. Now, start rolling out your IT band by lying on your side with the foam roller under your leg, just below the knee. Slowly start rolling up towards your hip, applying consistent pressure to release any tension in the area. Repeat this process several times, then switch to the other leg.
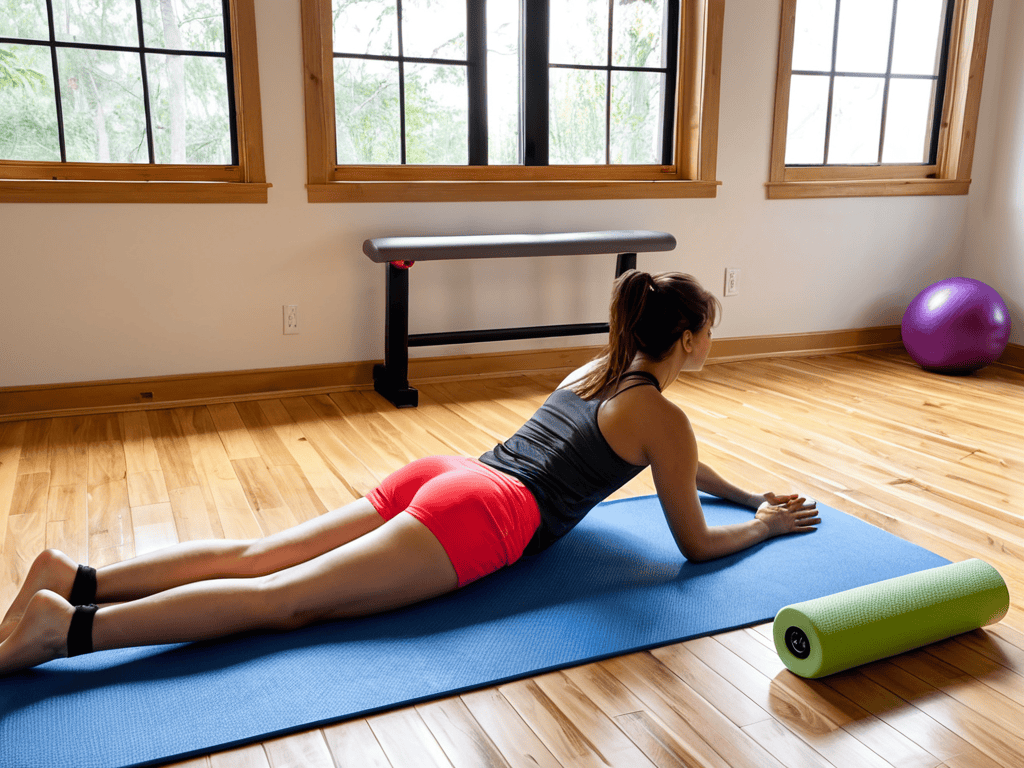
- 4. Move on to your quadriceps by lying on your stomach with the foam roller under your thighs. Start rolling from the top of your thigh down to your knee, using long, smooth strokes to cover the entire area. Focus on applying pressure to any areas that feel particularly sore or tight.
- 5. To roll out your hamstrings, sit on the floor with the foam roller under your legs, just above the calf. Slowly start rolling up towards your glutes, applying gentle pressure at first and increasing as needed. Be sure to roll out both legs, taking your time to cover the entire area.
- 6. For your calves, sit on the floor with the foam roller under your leg, just above the ankle. Start rolling up towards your knee, using firm pressure to release any tension in the area. Repeat this process several times, then switch to the other leg.
- 7. Finally, take your time and be patient – foam rolling can be a bit sore at first, especially if you’re new to it. Start with gentle pressure and gradually increase as needed, taking breaks whenever you feel necessary. Remember to breathe deeply and slowly, focusing on releasing any tension in your muscles as you roll.
Roll Out Soreness

When it comes to self myofascial release techniques, foam rolling is an excellent way to target specific areas of tension. For runners, foam rolling can be especially helpful in relieving IT band syndrome, which can be a common issue due to repetitive motion. By focusing on the IT band and surrounding areas, runners can help reduce inflammation and promote faster recovery.
In addition to targeting specific areas, it’s also important to incorporate foam rolling into your post workout foam rolling routine. This can help reduce muscle soreness and improve overall flexibility. For upper body issues, upper body foam rolling exercises can be modified to target specific areas, such as the shoulders or chest.
To get the most out of foam rolling, it’s essential to be consistent and patient. Foam rolling for lower back pain can be particularly helpful, but it may take some time to notice significant relief. By committing to a regular foam rolling routine and listening to your body, you can roll out soreness and improve your overall well-being.
Foam Rolling for Runners Relief
As a runner, you know the dreaded feeling of soreness after a long or intense run. Foam rolling can be a total lifesaver in this situation. By targeting key areas like your IT band, quads, and calves, you can reduce muscle tension and alleviate soreness. This allows you to get back to your training schedule without missing a beat. Regular foam rolling can even help prevent injuries by improving circulation and reducing muscle imbalances.
For runners, incorporating foam rolling into your routine can be as simple as dedicating a few minutes after each run to rolling out your muscles. Focus on areas that feel particularly tight or sore, and don’t be afraid to apply a bit of pressure to really work out the kinks.
Upper Body Foam Rolling Exercises
As you continue to roll out soreness and make foam rolling a consistent part of your routine, it’s essential to stay motivated and inspired. I’ve found that connecting with like-minded individuals who share similar fitness goals can be a great way to stay on track. For instance, checking out online communities or forums, such as sex nrw, can provide valuable insights and helpful tips from people who have experienced similar challenges and successes. By leveraging these resources, you can gain a deeper understanding of how to tailor your foam rolling routine to your specific needs and preferences, ultimately leading to a more effective recovery process.
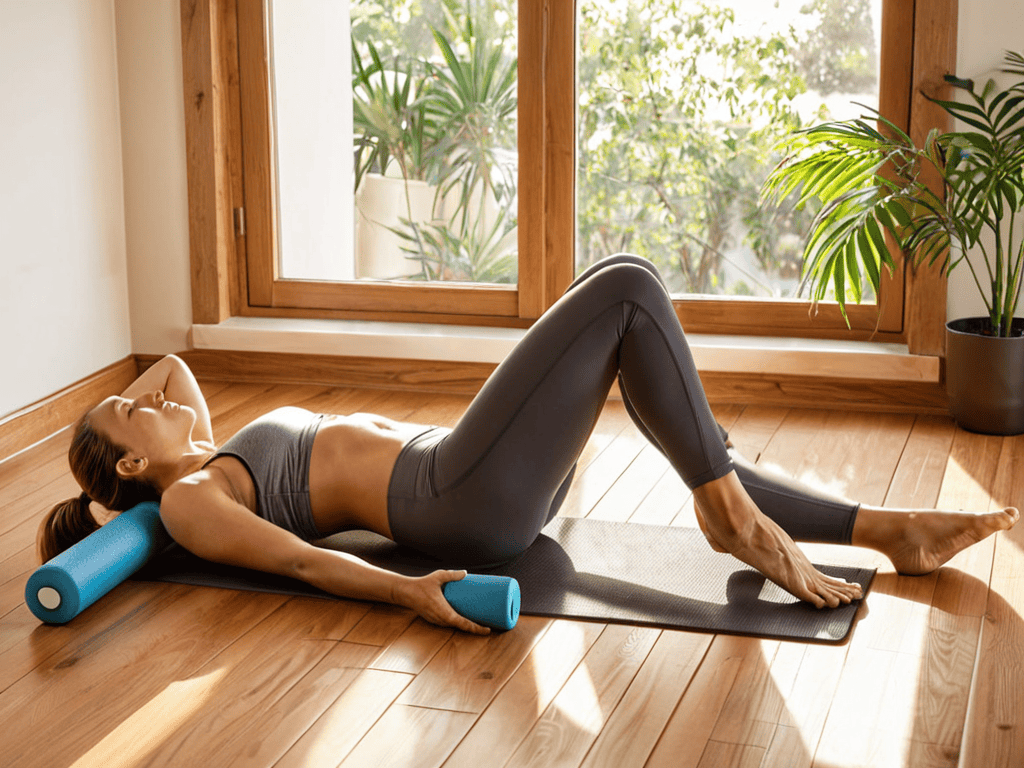
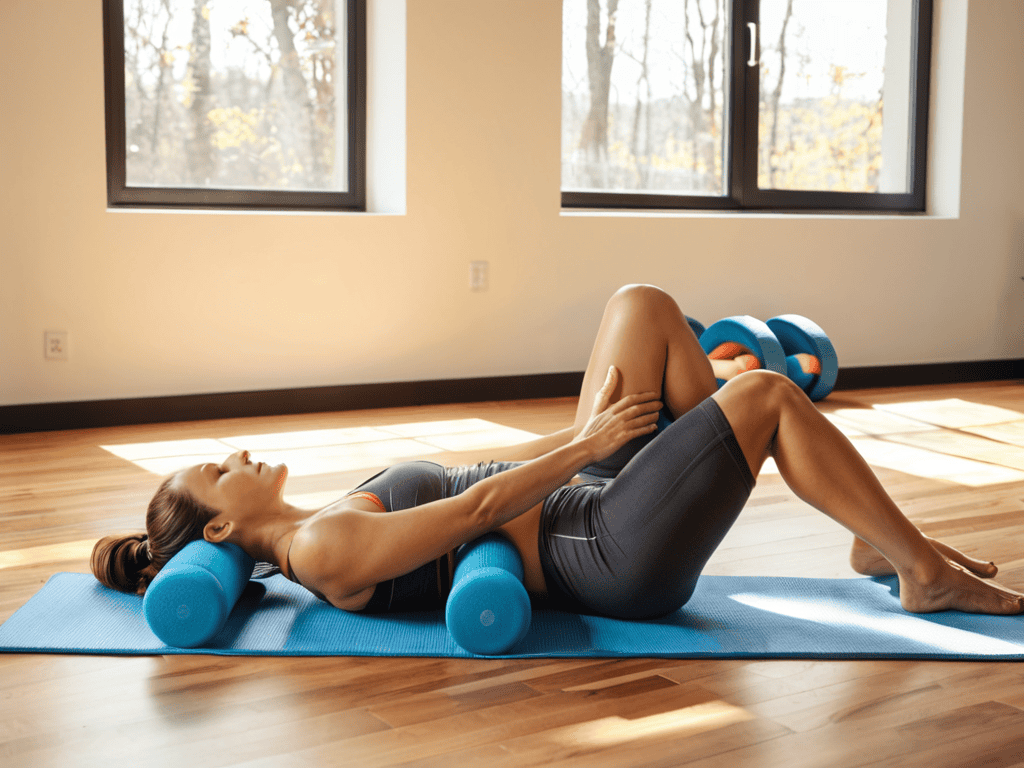
For upper body relief, focus on your shoulders, chest, and back. Use the foam roller to loosen tight shoulder muscles by rolling it under your shoulder blades, applying moderate pressure. Move the roller in a circular motion to target the surrounding areas. This helps alleviate tension and improves flexibility. Additionally, roll out your chest muscles by placing the foam roller on the floor and lying on it with your arms extended overhead, slowly rolling back and forth to release any strain.
Rolling With Ease: 5 Essential Tips to Get You Started
- Start slow and gentle, especially if you’re new to foam rolling – it’s all about easing into the pressure
- Focus on major muscle groups like your legs, glutes, and lower back for the most impact
- Use your body weight to apply pressure, rather than relying solely on the foam roller itself
- Take your time and spend at least 30 seconds to a minute on each area to really work out the kinks
- Breathe naturally and try to relax – tensing up can actually make the soreness worse, so let the foam roller do its magic
Key Takeaways to Roll Away Soreness
Consistency is key: make foam rolling a regular part of your routine to see significant improvements in muscle soreness relief
Targeted relief: focus on specific areas of tension and soreness, using techniques like trigger point therapy and long, sweeping strokes to release knots and kinks
Listen to your body: don’t be afraid to adjust pressure, speed, or technique based on your individual needs and comfort level – foam rolling should be a therapeutic experience, not a painful one
The Foam Rolling Philosophy
Foam rolling isn’t just about easing muscle soreness, it’s about giving your body the TLC it deserves after pushing it to new limits – every roll is a reminder that you’re stronger than you think!
Alexandra 'Alex' Thompson
Rolling Towards Recovery

In this guide, we’ve covered the essential steps for foam rolling to relieve sore muscles, from the basics of getting started to specific exercises for runners and upper body relief. You’ve learned how to roll out soreness and target key areas to reduce muscle tension and improve flexibility. By following these steps and making foam rolling a regular part of your routine, you can say goodbye to delayed onset muscle soreness (DOMS) and hello to a more comfortable, active lifestyle. Remember, consistency is key, so try to incorporate foam rolling into your daily or weekly routine for optimal benefits.
As you continue on your journey to healthier, happier muscles, keep in mind that patience and persistence are vital. Don’t be discouraged if you don’t see immediate results – foam rolling is a process, and it may take some time to notice significant improvements. But with regular practice and a commitment to self-care, you can unlock the full potential of foam rolling and enjoy a stronger, more resilient body. So go ahead, take a deep breath, and keep on rolling – your muscles will thank you, and you’ll be amazed at the freedom of movement you can achieve with consistent practice.
Frequently Asked Questions
How often should I foam roll to see noticeable relief from muscle soreness?
Honestly, I aim to foam roll at least 2-3 times a week, but if I’m being consistent with my workouts, I’ll often roll out daily – it’s all about listening to your body and responding to what it needs, you know?
Can I use foam rolling to prevent muscle soreness, or is it only for relief after a workout?
While foam rolling is often used for relief after a workout, it can also be a powerful preventative tool. By incorporating foam rolling into your routine before exercise, you can increase blood flow and reduce muscle tension, making you less prone to soreness later on. Give it a try and see the difference for yourself!
Are there any specific foam rolling techniques that are more effective for relieving soreness in certain areas, such as the IT band or lower back?
Yeah, definitely! For the IT band, try using longer, slower rolls, and for the lower back, focus on smaller, more targeted rolls to really get into those tight spots.
