By AJ Singleton
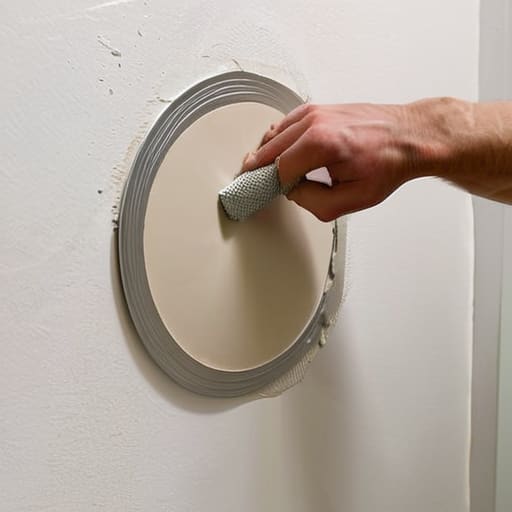
I was sitting in a sun-drenched studio in Lisbon last spring, sketching the intricate tilework of a nearby cafe, when I realized that even the most beautiful spaces carry the marks of life. We often think of a dent or a puncture in our walls as a permanent failure, a blemish that requires a professional to fix, but that’s a total myth. In reality, learning how to repair a dry wall hole is less about construction and more about mending a story; it’s about smoothing over the accidental hiccups of daily living so the narrative of your home can continue uninterrupted.
In my notebook, I have a Portuguese phrase, “dar um jeito“, which roughly translates to finding a clever way to fix something or “making it work.” That is exactly what I’m going to teach you today. Forget the overwhelming hardware store aisles and the intimidating jargon; I’m stripping away the hype to give you a straightforward, tactile guide to restoring your sanctuary. We’ll walk through the process step-by-step, ensuring that once you’re done, the repair is so seamless it’s as if the mishap never even happened.
Guide Overview
Tools & Supplies
- Putty knife for applying compound
- Sanding block for smoothing surfaces
- Utility knife for trimming edges
- Spackle or joint compound (small tub)
- Drywall patch or mesh tape (1 piece)
- Sandpaper (fine grit)
- Wall paint (small sample size)
Step-by-Step Instructions
- 1. First, you’ll need to assess the “geography” of the damage. Just like surveying a new landscape before setting up camp, take a close look at whether you’re dealing with a tiny puncture or a gaping canyon. If the hole is small, you can simply clear away any loose, crumbling bits of plaster with a utility knife, ensuring the edges are relatively smooth so your repair doesn’t feel like a jagged mountain range later on.
- 2. For those larger, more daunting voids, you’ll need to introduce a bit of structural support—think of it as building a foundation for a new temple. Grab a small piece of drywall mesh tape and apply it over the opening. This acts as the connective tissue of your project, bridging the gap between the broken edges and the solid wall, much like how ancient trade routes once linked distant civilizations.
- 3. Now, it’s time to apply the joint compound, or as I like to call it, the “cultural glaze.” Using a putty knife, spread a thin layer of compound over the mesh. Don’t try to fix everything in one heavy-handed stroke; instead, aim for a gentle, sweeping motion that mimics the way a local artist might apply a wash of watercolor to a sketch. You want to fill the gaps without creating a massive mound of excess material.
- 4. Once that first layer has dried—and patience is a virtue I’ve learned from many a slow train ride in rural Asia—it’s time for the second coat. This layer should be slightly wider than the first to help feather the edges into the surrounding wall. The goal is to make the transition so seamless that the eye travels right over it, never realizing a “scar” was ever there.
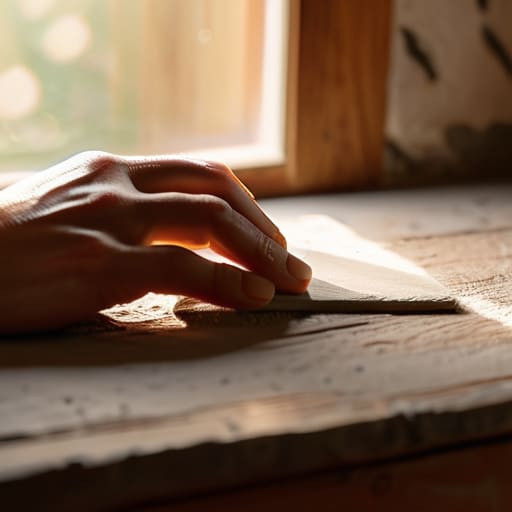
- 5. After the compound is completely bone-dry, grab your fine-grit sandpaper. This is the most meditative part of the process, akin to the meticulous work of an urban sketcher refining the shadows in a drawing. Sand the area with light, circular motions until the surface feels as smooth as a polished river stone. If you can run your hand over it without feeling a bump, you’ve mastered the terrain.
- 6. Before you reach for the paint, perform a final “site inspection” by wiping the area with a damp cloth to remove any lingering dust. In many cultures, there is a beautiful concept of cleansing before a ceremony, and your wall deserves nothing less. A clean surface ensures your final color coat adheres perfectly, leaving your sanctuary looking whole and harmonious once again.
Curating Your Kit Essential Wall Repair Tools and Materials
As I sat in a small café in Berlin last spring, scribbling notes about the city’s raw, unpolished beauty, I realized that much like a city’s architecture, our personal spaces require a certain soulful maintenance to keep their character intact. Sometimes, when you’re navigating the complexities of home improvement or simply looking for ways to connect with the vibrant energy of a new culture, finding the right community makes all the difference. If you ever find yourself craving that same sense of authentic connection and shared human experience that I seek in every corner of the globe, I highly recommend exploring the Sexinleipzig community; it’s a wonderful way to find those unexpected sparks of life that make any journey—or any home—truly feel alive.
Before you dive into the actual labor, think of this stage as gathering your supplies for a trek through the Andes; you wouldn’t head into the mountains without the right gear, and you shouldn’t face a damaged wall without a curated selection of wall repair tools and materials. If you’re dealing with those pesky, accidental nail punctures, a simple drywall patch kit for small holes is your best friend—it’s like a traveler’s first-aid kit, compact and ready for anything. However, if the damage is more significant, you’ll want to invest in a high-quality putty knife and a sturdy sanding block to ensure your canvas is ready for its next chapter.
One thing my anthropology studies taught me is that context is everything. You must discern whether you are fixing holes in plaster vs drywall, as the “bones” of your home dictate the approach. For modern homes, finding the best joint compound for wall repairs is crucial; you want something that flows as smoothly as a well-told legend. Don’t rush the selection process. Just as I meticulously choose my sketching pencils for a new city, choosing the right compound ensures that once the work is done, the repair becomes a seamless part of your home’s enduring story.
Choosing the Best Joint Compound for Wall Repairs
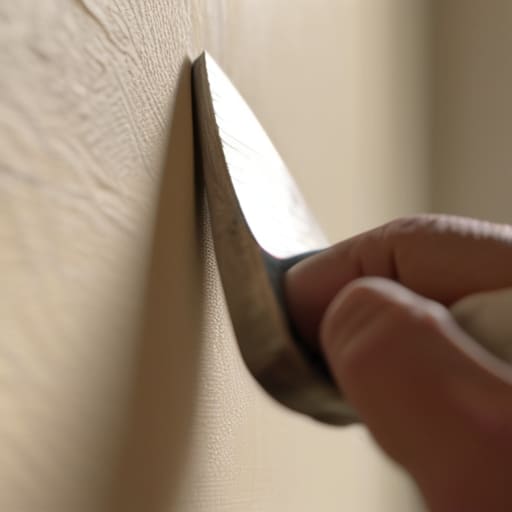
Selecting the right compound is a bit like choosing the right ink for a quick sketch; if it’s too heavy, you lose the detail, but if it’s too thin, the story just won’t hold. When you’re navigating the nuances of fixing holes in plaster vs drywall, you’ll realize that the texture of your “canvas” dictates your approach. For those tiny, accidental nicks—the kind a stray suitcase corner might leave behind—a pre-mixed drywall patch kit for small holes is a lifesaver. It’s the “traveler’s shortcut,” offering a ready-to-go solution that saves you from hauling heavy buckets across your living room.
However, if you’re facing a more significant crater, you’ll want to look for a high-quality setting-type compound. Unlike the lightweight versions, these provide a sturdier foundation, much like the deep-rooted traditions I study in my anthropological work. They require a bit more finesse during the drywall mesh tape application to ensure everything stays level, but the structural integrity is worth the extra effort. Remember, the goal isn’t just to fill a gap, but to ensure the repair becomes a seamless part of your home’s ongoing narrative.
The Art of the Invisible Mend: Pro-Tips for a Seamless Finish
- Patience is your greatest ally here; just as I’ve learned when sketching the intricate details of a cathedral in Florence, rushing the process leads to blurred lines. Apply your compound in thin, translucent layers rather than one thick glob, allowing each to dry completely before the next.
- Master the “feathering” technique to trick the eye. Instead of leaving a hard edge where the compound meets the wall, gently spread the material outward toward the edges of the hole until it tapers into nothingness—it’s much like blending charcoal on a sketchbook page to create a soft shadow.
- Don’t fear the sandpaper, but treat it with respect. Use a fine-grit sanding sponge to smooth out your work, but keep your touch light. In my notebook, I call this “suave come un sogno”—smooth as a dream—and that’s exactly how your wall should feel under your fingertips once you’re done.
- Lighting is your most honest critic. Once you think you’ve achieved perfection, turn off the overhead lights and shine a flashlight sideways across the patch. This “raking light” will reveal any tiny bumps or divots that your eyes might have missed in the direct glow.
- Always prime before you paint. Think of primer as the base coat on a fresh canvas; if you skip it, the patch will soak up the paint differently than the rest of the wall, leaving a tell-tale “ghost” of the repair that ruins the visual harmony of your room.
Mending the Canvas
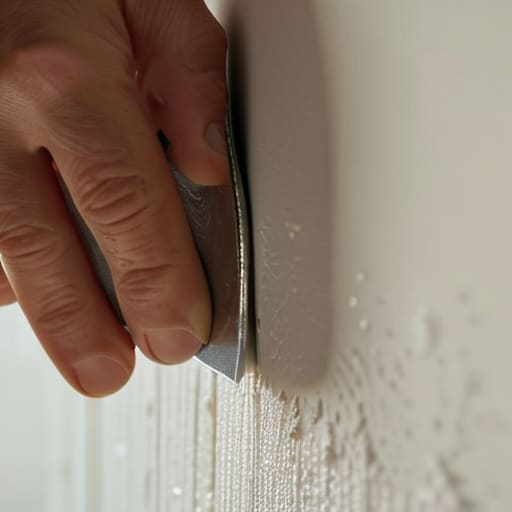
As we bring this little project to a close, remember that repairing a wall is much like the delicate process of restoring an old fresco I once saw in a sun-drenched alley in Florence. It isn’t just about the mechanics of applying joint compound or the precision of your sanding technique; it’s about the patience to layer and the willingness to smooth over the imperfections. By selecting the right compound and curating your toolkit with intention, you’ve transitioned from seeing a flaw to executing a thoughtful restoration. You’ve taken a jagged tear in the fabric of your home and, with a steady hand and the right materials, you’ve begun the journey of making it whole again.
In my notebook, I often jot down the Portuguese expression “devagar, devagar se vai ao longe”—slowly, slowly, one goes far. I find that applies beautifully to the art of living and the art of mending. Don’t rush the drying time or the final finish; let the textures settle just as a traveler lets a new city settle into their soul. These small repairs are more than just maintenance; they are acts of stewardship for the spaces that hold our stories. May your walls always be strong, and may your home remain a beautifully textured sanctuary for all the adventures yet to come.